


If you want warmer floors without changing the clean look of your space, learning how to install radiant heat under vinyl plank flooring is a smart upgrade. Luxury vinyl plank (LVP) is durable, water-resistant, and comfortable, but it can still feel cool underfoot. Electric radiant floor heating solves this by delivering gentle, even warmth across the entire surface.
This guide walks you through the installation process, key preparation steps, and practical best practices to help ensure your system performs efficiently, safely, and reliably for years.
Most modern vinyl plank flooring is compatible with electric radiant heat systems, but it is important to confirm the manufacturer’s temperature limits and specifications before installation.
Vinyl flooring is sensitive to excessive heat, so proper system design, installation, and control are essential. It is also important to check that the flooring has an R-value below 1 to allow efficient heat transfer.
There are two main system types which can both be used with vinyl plank flooring:
This article focuses on installation of embedded systems.
| Requirement | Typical Recommendation |
|---|---|
| Maximum floor temperature | Up to 82°F |
| Control method | Programmable thermostat with floor sensor |
| Heating type | Electric mats or cables |
| Installation type | Embedded system or floating system (product dependent) |
When installed and controlled correctly, radiant heat works very well with vinyl plank flooring and provides consistent comfort without overheating the material.
Subfloor preparation is one of the most important parts of the installation. The surface must be clean, dry, level, and structurally sound. Remove debris, old adhesive, and any uneven areas.
If installing over concrete, insulation boards are recommended. Insulation helps direct heat upward into the room instead of allowing it to dissipate into the slab. Over wood subfloors, the focus is typically on maintaining a proper floor assembly and effective heat transfer.
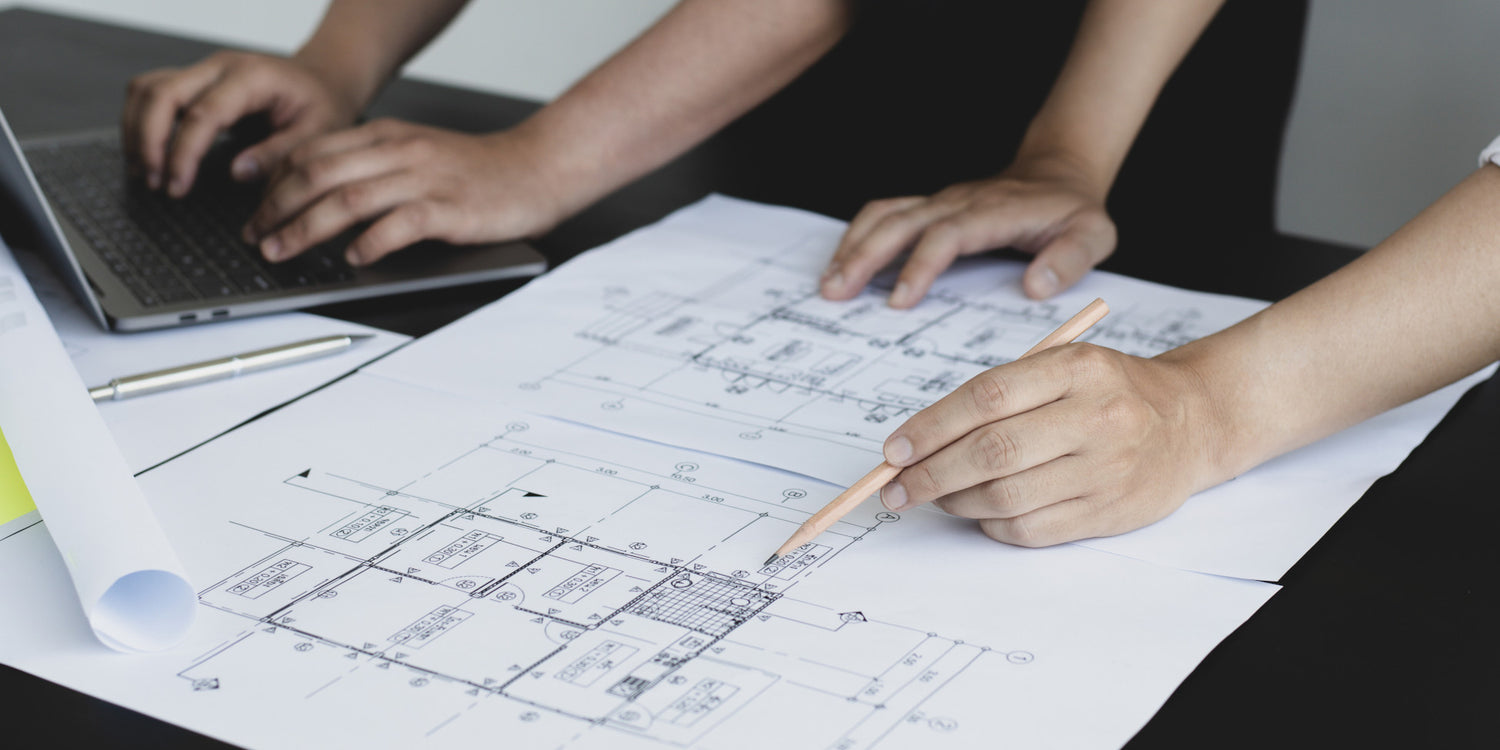
Create a detailed layout before installing the system. Heating elements should only be placed in open walking areas and should never be installed under permanent fixtures such as cabinets, appliances, or vanities.
System design and spacing should always follow manufacturer instructions to ensure balanced and even heat distribution.
Roll out heating mats or secure loose cables according to your layout plan. Mats can be cut and turned to fit the space, but the heating wire itself must never be cut or shortened.
After installation, test the system resistance with a multimeter to confirm there is no damage before covering the heating elements.
Place the floor sensor between two heating runs so it can accurately monitor floor temperature. The sensor connects to the thermostat and helps prevent overheating, which is critical for vinyl flooring.
All electrical connections should be completed by a qualified electrician to ensure compliance with local electrical codes.
Cover the heating elements with self-leveling compound. This step is strongly recommended for vinyl plank flooring because it creates a flat, smooth surface that supports proper installation and protects the heating system.
| Floor Assembly Layer | Purpose |
|---|---|
| Vinyl plank flooring | Finished walking surface |
| Approved underlayment (if required) | Supports floating floor system |
| Self-leveling compound | Encases and protects heating elements |
| Heating mat or cable | Provides radiant heat |
| Subfloor | Structural base |
Allow the leveling compound to fully cure before proceeding with flooring installation.
Once the surface has cured, install the vinyl plank flooring according to the manufacturer’s instructions. Most systems use a floating installation method.
After installation, wait the recommended curing period before turning the heating system on. When starting the system, increase the temperature gradually to protect the flooring.

| Best Practice | Why It Matters |
|---|---|
| Use a floor sensor thermostat | Prevents overheating and protects vinyl |
| Keep temperatures below 82°F | Maintains flooring stability |
| Use scheduled heating | Improves efficiency and comfort |
| Test resistance during installation | Confirms system integrity |
Because radiant heat warms the surface directly, many homeowners find they can maintain comfort at lower air temperatures compared to forced air systems.
Proper sensor placement and programming play a big role in protecting temperature-sensitive flooring, and the floor heating thermostat installation guide walks through the key setup steps.
Radiant heat transforms vinyl plank flooring into a warm and comfortable surface without changing the appearance of your space. The system operates quietly, requires minimal maintenance, and distributes heat evenly without airflow.
This upgrade is especially valuable in kitchens, bathrooms, basements, and living areas where vinyl flooring is commonly installed. When installed correctly, radiant heating improves everyday comfort while maintaining the durability and water resistance that vinyl flooring is known for.

Yes, electric radiant heating systems can be installed under vinyl plank flooring as long as the flooring manufacturer approves it, temperature limits are followed, and R-value requirements are met.
Insulation is most important when installing over concrete subfloors to improve efficiency. Over wood subfloors, the focus is typically on maintaining proper floor assembly and heat transfer.
Most vinyl flooring should be kept at or below 82°F to prevent damage and maintain stability.
In most cases, no. The existing flooring must be removed so the heating system can be properly installed beneath the new floor.
Both options work well. Heating mats are faster for simple layouts, while loose cables provide flexibility for irregular spaces.
Our under floor heating experts will work on the design and layout of your project, for free!

